

By Advit
11 min read
How to Resize an Image Without Losing Quality: A Complete Guide
Have you ever resized a photo and noticed that it became blurry, pixelated, or less attractive? This is a common problem when changing image dimensions, especially when preparing pictures for websites, social media, blogs, and online stores.
The good news is that you can resize most images while maintaining excellent visual quality. The key is to choose the correct dimensions, preserve the original proportions, use a suitable image format, and avoid unnecessary compression.
Whether you want to resize a photo for Instagram, reduce an image for your website, or prepare a picture for a blog post, this guide will show you how to do it correctly.
You can also try the PixByt Social Media Image Resizer to resize images for your needs.
What Does Resizing an Image Mean?
Image resizing means changing the width and height of an image, usually measured in pixels.
For example, you might change an image from 3000 × 2000 pixels to 1500 × 1000 pixels to make it more suitable for online use.
There are two common reasons to resize an image:
Change image dimensions: Make an image smaller or larger to fit a specific space.
Reduce file size: Make an image easier to upload, share, or load on a website.
These two things are related, but they are not the same. Changing dimensions affects the number of pixels, while compression changes how image data is stored.
For the best results, choose dimensions that match your intended use and export the image with an appropriate quality setting.
Can You Resize an Image Without Losing Quality?
Yes, you can often resize an image while keeping it visually sharp, particularly when reducing a large image to a smaller size.
However, resizing is not completely lossless in every situation. When you reduce an image’s pixel dimensions, some pixel information is removed. When you enlarge an image, software must estimate additional pixel information, which can make the image look softer.
The best approach is to start with the highest-quality original image, resize it only as much as necessary, and check the final result before using it.
How to Resize an Image Without Losing Quality Online
Using an online image resizer can be a convenient way to change image dimensions without installing additional software.
Follow these general steps:
Step 1: Open the PixByt Image Resizer
Visit the PixByt Social Media Image Resizer in your browser.
Open the tool and review the available image upload and resizing options.
Step 2: Upload Your Original Image
Select the original image you want to resize.
For better results, use the highest-quality version available. Avoid using a screenshot or an image that has already been compressed several times, if you have the original file.
Step 3: Choose the Required Dimensions
Enter the target width and height if the tool supports custom dimensions.
For example, you might need a 1080 × 1080 pixel image for a square social media post or a 1200 × 630 pixel image for a horizontal blog or social sharing graphic.
Always check the requirements of the platform where you plan to use the image.
Step 4: Preserve the Original Aspect Ratio
The aspect ratio describes the relationship between an image’s width and height.
For example, an image measuring 1200 × 800 pixels has a 3:2 aspect ratio.
If you change the width without adjusting the height proportionally, the image may look stretched or squeezed.
Keep the aspect ratio locked when possible. If your target platform requires a different shape, use cropping rather than stretching the original image.
Step 5: Resize and Preview the Image
Apply the resizing settings and check the result.
Look closely at faces, text, fine details, edges, and other important areas. Make sure the image looks natural and has not become noticeably blurry.
Step 6: Download and Save the Resized Image
Download the resized image using the available options.
Keep your original file as a backup. If you need another size later, create it from the original rather than repeatedly resizing an already-resized copy.
Try it now: Open the PixByt Social Media Image Resizer.
Why Do Images Lose Quality After Resizing?
Understanding the common causes of quality loss can help you avoid them.
1. Enlarging a Small Image Too Much
When you enlarge a small image, the software needs to estimate the colors of additional pixels. This process is called upscaling or upsampling.
A small enlargement may look acceptable, but a large enlargement can make edges appear soft and details look unnatural.
Solution: Start with a larger original image whenever possible. If you must enlarge a small image, consider a reputable AI upscaling tool, but remember that generated details may not match the original perfectly.
2. Changing the Aspect Ratio Incorrectly
Changing an image’s width and height independently can distort its appearance.
For example, a circular logo may become oval, or a person’s face may look unusually wide or narrow.
Solution: Preserve the original aspect ratio or crop the image to fit the required dimensions.
3. Using Excessive Compression
Compression reduces the amount of data stored in an image file. Some compression methods discard information to achieve smaller files.
Too much compression can create visible blocks, blurry edges, color problems, and other artifacts.
Solution: Choose a suitable export quality. For JPEG images, a quality setting around 80–90% is a useful starting point, although the best setting depends on the image and the encoder.
4. Resizing the Same Image Repeatedly
Repeated resizing and saving can gradually reduce quality, especially when using lossy formats such as JPEG.
Solution: Keep an original copy and create each required version directly from that file.
5. Using the Wrong Image Format
Different image formats are designed for different purposes.
JPEG/JPG: Often suitable for photographs.
PNG: Useful for logos, screenshots, sharp graphics, and images requiring transparency.
WebP: Supports photographs, graphics, and transparency, often with efficient compression.
AVIF: Can provide efficient compression, but compatibility and workflow requirements should be considered.
Choose the format that best fits the image and its intended use.
Recommended Image Dimensions for Social Media and Websites
The correct dimensions depend on the platform and placement. The following are commonly used starting points, not guaranteed requirements for every platform.
| Image purpose | Example dimensions |
|---|---|
| Square social media post | 1080 × 1080 px |
| Vertical social media portrait | 1080 × 1350 px |
| Vertical story or short-form video cover | 1080 × 1920 px |
| Horizontal blog or sharing image | 1200 × 630 px |
| Website thumbnail | 400 × 300 px |
| Website banner | 1920 × 600 px |
| Square product image | 1000 × 1000 px |
Before resizing, check the current recommendations for your chosen platform or website layout. Some platforms automatically crop images, so the correct aspect ratio matters as much as the pixel dimensions.
For blog images, use dimensions that suit the actual content area rather than uploading an unnecessarily large image.
How to Reduce Image File Size Without Making It Blurry
If your main goal is to reduce an image’s file size, you may not need to change its dimensions dramatically.
Try these methods:
Resize to the Actual Display Size
If your website displays an image at 800 pixels wide, uploading a 4000-pixel-wide image may be unnecessary for that placement.
Prepare an appropriately sized version while keeping the original for future use.
Choose an Appropriate Format
Photographs often work well as JPEG or WebP files. Graphics with transparent backgrounds may be better suited to PNG or a compatible modern format.
The ideal choice depends on the image’s details, transparency needs, and browser or application support.
Adjust Compression Carefully
Reduce the file size gradually and preview the result.
Do not choose the lowest possible file size automatically. An image that loads quickly but looks visibly damaged may not provide a good experience for visitors.
Compare the Final Image at Its Intended Size
An image can look different when enlarged on a screen than it does in its actual website placement.
Check both the details and the way the image appears at its intended display size.
Does Image Resolution Affect Quality?
Yes, but it is important to understand what resolution means.
For digital screens, the image’s pixel dimensions are usually the most important factor. A 2000 × 1500 pixel image contains more pixel information than a 500 × 375 pixel version of the same image.
For printing, pixels per inch (PPI) also help determine how large an image can be printed while maintaining a desired level of detail.
Changing the PPI value alone does not automatically create additional image detail. The result depends on whether the pixel dimensions change and how the image is resampled.
For web images, focus on suitable pixel dimensions, good visual quality, and an efficient file size.
Best Practices for Resizing Images
Follow these practical tips to maintain image quality.
Keep the original file: Always retain a full-quality backup.
Use suitable dimensions: Match the image to its intended purpose.
Preserve proportions: Avoid stretching or squeezing the image.
Resize only when necessary: Do not enlarge small images without a good reason.
Avoid repeated exports: Create new sizes directly from the original.
Choose the correct format: Use JPEG, PNG, WebP, or another suitable format based on your needs.
Compress carefully: Balance file size with visible image quality.
Preview before publishing: Check text, faces, edges, and fine details.
Use appropriate crops: Keep important subjects inside the visible area.
Check mobile display: Make sure the image looks good on smaller screens as well as desktop displays.
Frequently Asked Questions
1. How can I resize an image without losing quality?
Start with the highest-quality original, preserve the aspect ratio, resize to suitable dimensions, and avoid excessive compression. Reducing a large image usually produces good results, while enlarging a small image can reduce sharpness.
2. Can I resize an image online for free?
You can use browser-based image resizing tools to change image dimensions without installing desktop software. Visit the PixByt Social Media Image Resizer to explore the available options and check any usage limits or features shown on the page.
3. Does resizing an image reduce its file size?
Reducing pixel dimensions often reduces file size, but the exact result depends on the image format, image content, and compression settings. If you only change the file format or compression settings, the dimensions may remain the same.
4. How can I resize a photo without stretching it?
Keep the original aspect ratio locked while changing its dimensions. If you need a different shape, crop the image to fit rather than forcing the width and height to change independently.
5. Which image format is best for maintaining quality?
PNG is useful for lossless graphics and transparency. JPEG is widely used for photographs, while WebP and AVIF can offer efficient compression. The best format depends on the type of image and where you will use it.
6. Can I increase image resolution without losing quality?
You can enlarge an image, but ordinary resizing cannot recover details that were never present in the original. AI upscaling may improve the appearance of a larger image, although some details may be estimated rather than recovered.
7. What image size is best for a website?
There is no single best size for every website image. Choose dimensions that match the content area, account for responsive layouts, and avoid sending unnecessarily large files to visitors.
8. Why does my image look blurry after resizing?
Possible causes include excessive enlargement, low-quality source files, aggressive compression, repeated resizing, or incorrect aspect-ratio settings. Try resizing from the original and using more suitable dimensions and export settings.
9. Is changing image dimensions the same as compressing an image?
No. Resizing changes the pixel dimensions, while compression changes how image data is stored. You can resize an image without heavily compressing it, or compress an image without changing its dimensions.
10. How do I resize images for social media?
Check the platform’s recommended dimensions and aspect ratio, upload a clear original, resize or crop it to fit, and preview the final image before posting. This helps prevent unwanted cropping and distortion.
Conclusion
Resizing an image without noticeably reducing its quality is easier when you understand the basics. Start with a good original, choose the right dimensions, preserve the aspect ratio, select a suitable image format, and avoid unnecessary compression.
For website owners, bloggers, social media creators, and everyday users, these simple steps can help produce clear images that look professional and load efficiently.
If you need to prepare an image for a social media post or another online purpose, visit the PixByt Social Media Image Resizer and explore its available resizing options.
Keep your original image, choose the right output size, and always preview the final result before publishing.
Free Social Media Image Resizer
Resize photos for Instagram, Facebook, TikTok, YouTube, X, LinkedIn, Pinterest and more — free, instant, no signup required.
- Free to use
- No sign-up needed
- Works in your browser
Guides about this tool
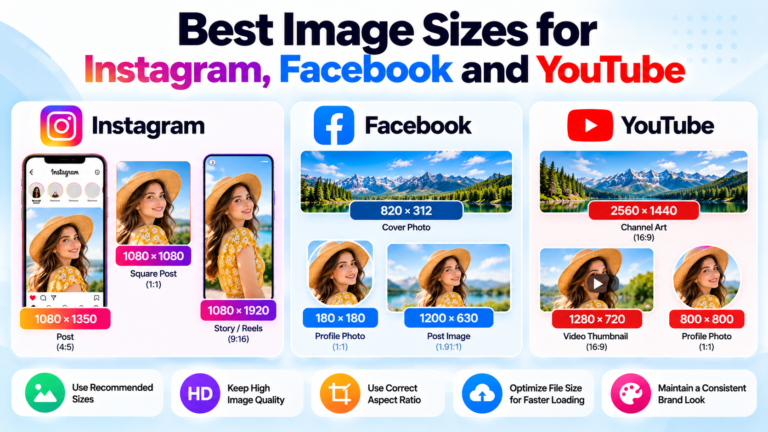 Guide · 11 min readBest Image Sizes for Instagram, Facebook and YouTubeHave you ever uploaded an image to Instagram, Facebook, or YouTube and noticed that it looks blurry, gets cropped, or does not…Read guide
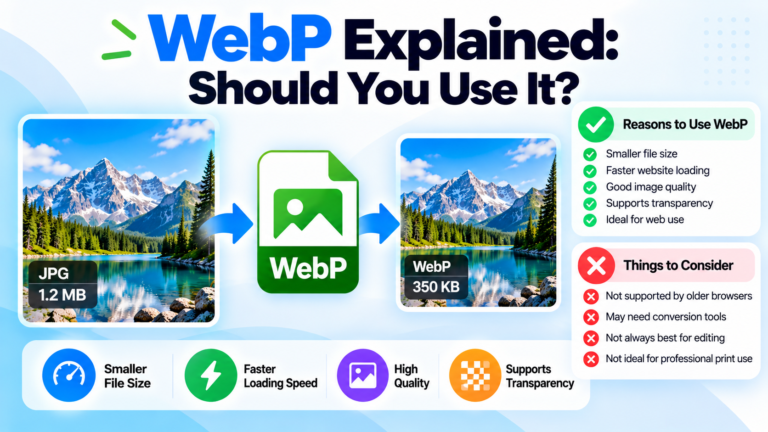 Guide · 12 min readWebP Explained: Should You Use It? Pros, Cons & JPG ConversionWebP Explained: Should You Use It? A Complete GuideChoosing the right image format can make a difference to your website speed, image…Read guide
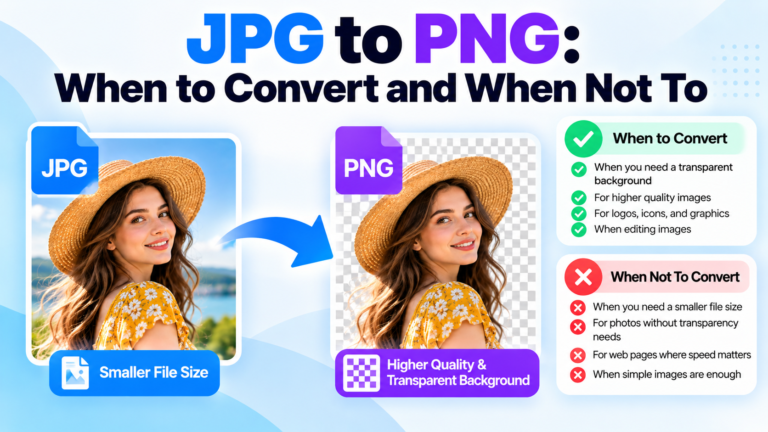 Guide · 11 min readJPG to PNG: when to convert and when not toJPG to PNG: When to Convert and When Not To (Complete Guide)Have you ever needed to convert a JPG image to PNG…Read guide
 Guide · 14 min readHow to Compress Images for a Faster WebsiteHow to Compress Images for a Faster Website: A Complete GuideIs your website loading slowly, especially on mobile devices? Large image files…Read guide